
D’Nealian Fonts Installation
Download & Install Fonts
Here are some instructions for installing fonts on a Mac computer. In our example we will download the D’Nealian fonts from the “Chalk” google shared drive.
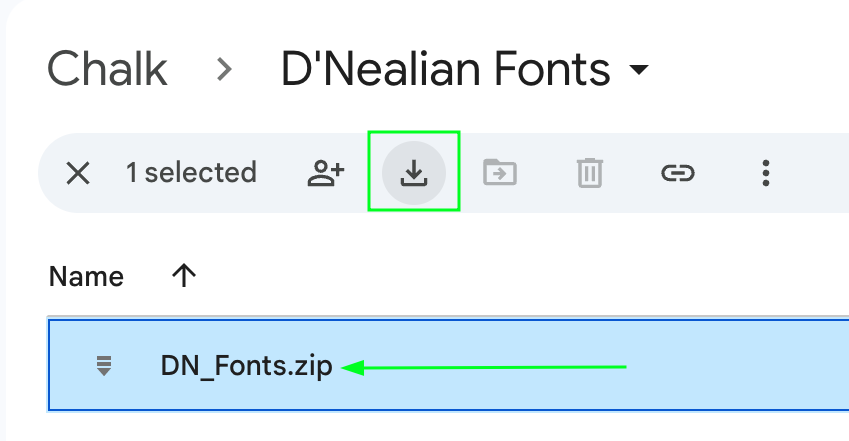
- Open google drive and click on “Shared drives”, then “Chalk” and then open the “D’Nealian Fonts” folder in the Chalk shared drive. Be sure to select the “DN_Fonts.zip” file and click on the download icon.
- Now open the finder window and navigate to the “Downloads” folder where the “DN_Fonts.zip” file is located. Double click “DN_Fonts.zip” to unzip the compressed file. You will now see a “DN_Fonts” folder, go into that folder and leave that folder window open.
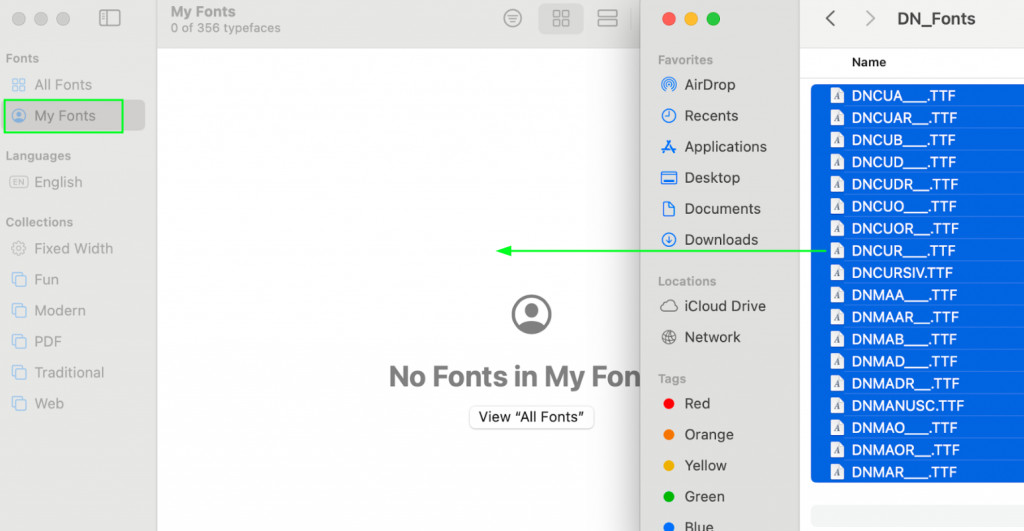
- Now open the app “Font Book” on your mac (Applications -> Font Book). With the two windows open copy (drag and drop) all of the DN font files to your “My Fonts” folder in the “Font Book” app (see image below).
- The fonts are now installed on your computer.
Install Libre Office (if not already installed)
If you already are using Microsoft Word or Apple’s Pages then you should now be able to use the new fonts. If you do not currently have a word processor installed on your computer you can download Libre Office for free.
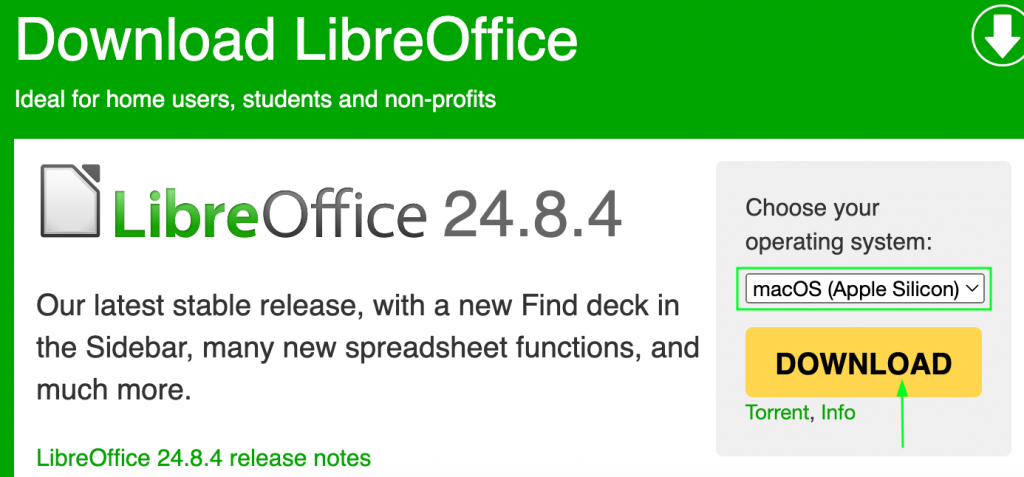
- Navigate to https://libreoffice.org/download/download-libreoffice, make sure to select your operating system version, which is “macOS (Apple Silicon)” and then click the download button.
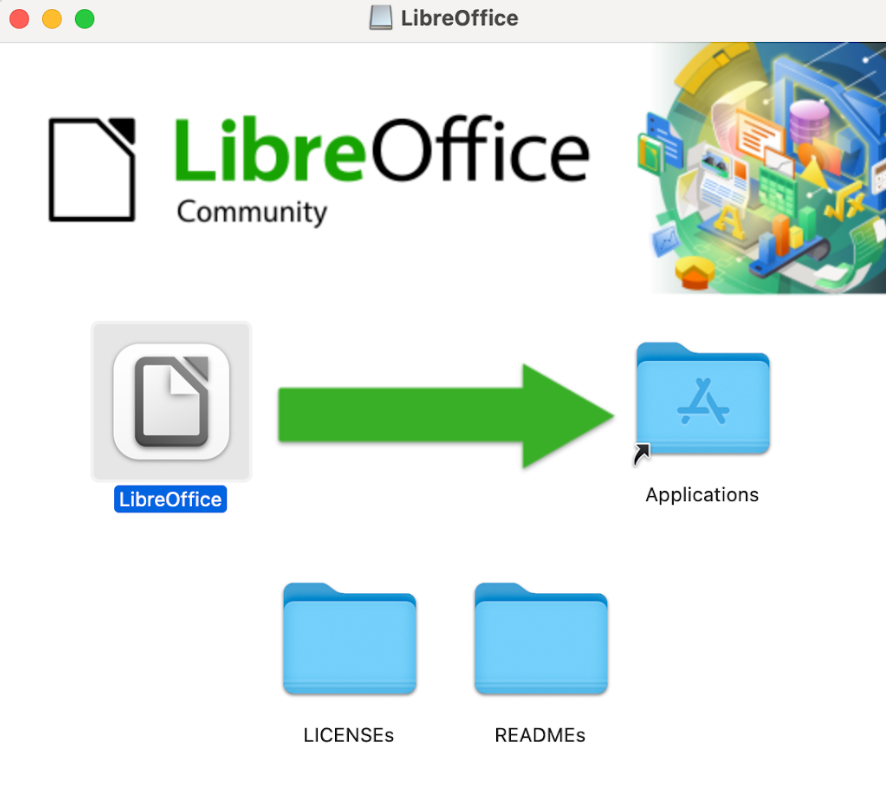
- Once the download finishes double click the dmg file in your “Downloads” folder and then drag the “LibreOffice” icon to the Applications folder.
- You can now open Libre Office Writer and start using the new fonts that you just installed in the steps above.